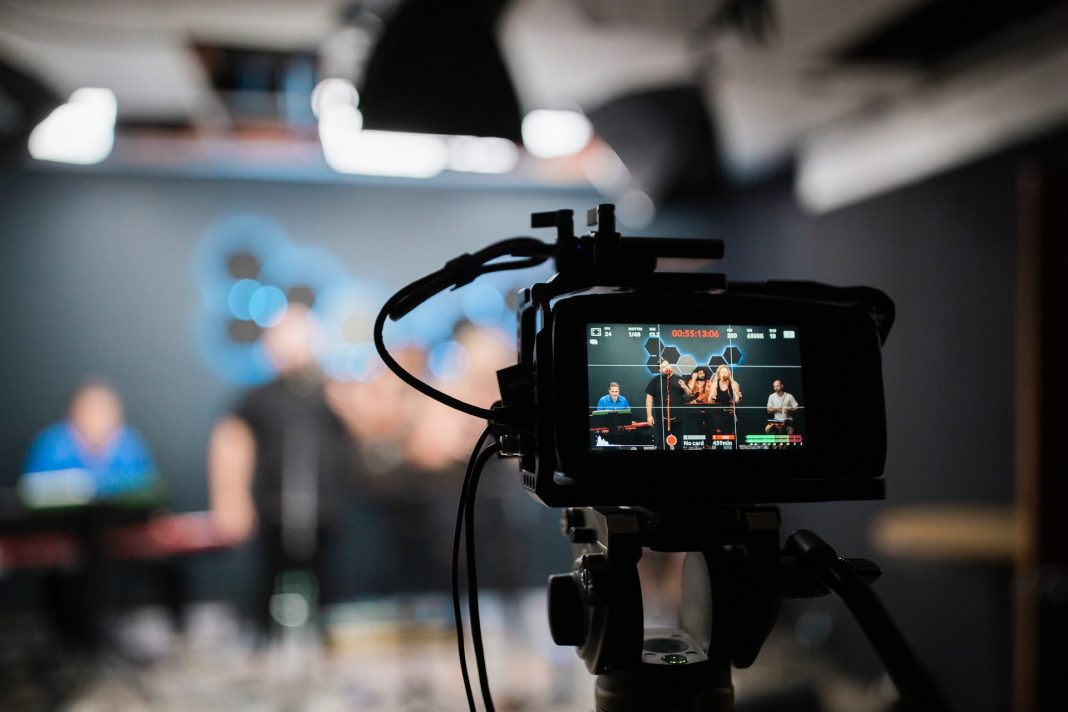
It’s easy to see why brands are getting into the streaming business, with almost 57 percent of marketers live streaming their content. However, knowing how to live stream can sometimes be tricky for many brands and content creators.
There’s no shame in acknowledging that not everyone is as familiar with the technical side of webcast services as live streaming service providers themselves.
All the nuances of streaming will be tackled in this guide, such as how to set up a live stream, what products to consider, and how to get it up and running.
How to choose the best live streaming companies and offer advice on how to maintain a solid internet connection when live streaming will also be discussed.
SETTING UP A LIVE BROADCAST
Finally, there are five steps to deliver content on live streaming services:
1. Sync the streaming device to the audio and visual sources that gather content for live streaming (PC or laptop).
2. Set up the encoder, which converts interactive multimedia data into streamable files that may be shared over the internet.
3. Using the stream key and URL provided by the streaming platform, connect the encoder and the streaming platform.
4. Check the upload and download speeds on the internet.
5. Stream away!
WHAT ARE SOME REQUIREMENTS FOR LIVE STREAMING?
For beginners, setting up a broadcasting setup is rather simple. A lens, mic, lights, and a stable internet connection are all required.
The streamer will also need to get their fingers on some webcasting software (on the digital side). Listed below are all the equipment required to begin one’s streaming journey.
· CAMERA
When one’s just getting started with live streaming, Experts recommend using just one high-quality camera.
To put it another way, a webcam will suffice.
However, if the participant wants to try something different, there are lots of possibilities for every budget. If someone wants to get into streaming services on the cheap before upgrading their hardware, some terrific options are available.
Video sources for beginners include the everyday cell phone camera, or a basic live broadcasting camera, such as the DJI Osmo Action, GoPro Hero, Logitech C930e, Mevo camera, etc.
For a more pricey endeavour, one can indulge in cameras such as the Canon XA15/XF100, Panasonic LUMIX GH4, and the Sony A7 II.
A webcam, point-and-shoot camera, or camcorder will all perform for live broadcasts as long as the webcam can capture 720p at 24 frames per second.
· AUDIO
Even though the picture quality of the live stream is excellent, if the sound quality is poor, the viewers will leave.
So pay attention to the audio quality of the live stream. Don’t rely on the built-in microphone on the camera; invest in a good one.
For individuals just getting started with audio equipment, experts have terrific advice on how to choose the best mic for videos. The alternatives are summarised below.
Audio sources for beginners include the iPhone Microphone from Shure, Digital stereo condenser mic Shure MV88, VideoMic by Rode, Audio software Topaz DeNoise AI, Microphone Yeti Nano USB, etc.
For a more pricey endeavor, one can indulge in Lavalier mics also known as clip-on microphones, or handheld microphones such as Shure SM58s.
An individual who can’t afford to purchase an external audio source can have their phone assist in sound recording as well. At least momentarily while they get their bearings with live broadcasting.
· CAPTURE CARD
A capture card is the third element of webcasting equipment one may require.
A capture card is a device that converts video from one source to the main live streaming configuration.
But wait, what’s the use of a capture card? So that the computer can see what its camera sees.
To connect the HDMI cable to a capture card, the camera must have an HDMI port/output. The video stream will now be sent to the computer.
When is it necessary to include a capture card in any live stream setup?
When using a software encoder, one will need a capture card.
When using a hardware encoder, a capture card is not required because it usually comes with one built-in. When using a USB camera or microphone that can be directly plugged into the computer, it’s also unnecessary.
For the time being, remember that if an individual’s going to utilize a capture card, they’ll have to choose between a USB interface capture card and a PCI-e interface capture card.
Here are some suggestions for capture cards by streaming service providers:
Elgato CamLink 4K, AV.io HD, and Razer Ripsaw HD
Whatever capture card is used, be sure it’s compatible with the streaming platform, like Dreamcast.
· LIGHTING
This article has listed most of the technical requirements for live streaming. However, there is one component that one must not overlook: streaming lighting.
A well-lit stream can make a live broadcast look more professional and interest potential viewers. Consider this, a proper streamer doesn’t want their viewers to groan at how dimly lit the live streaming setup is, and one certainly doesn’t want the speakers or presenters to be obscured by the overhead lights in their workplace.
A webcast service provider’s best buddy and a free source of lighting for the streaming space is sunlight. Test video for the best natural light balance. Too much sunshine can conceal the speaker’s features, while too little can hide their features.
To give some examples, here’s a small list of live streaming services in India:
1. Twitch
2. Youtube
3. Netflix
4. Amazon Prime
5. Voot
6. SonyLIV
CONCLUSION
Once the streamers got everything set up, click start streaming in the encoder to get the show going! It’s normal to be nervous while going live for the first time. One should be fine if they do a few practices runs before using the real data.
With a little forethought and only a few live streaming gigs under their belt, the individual will soon find themselves enjoying the process.


